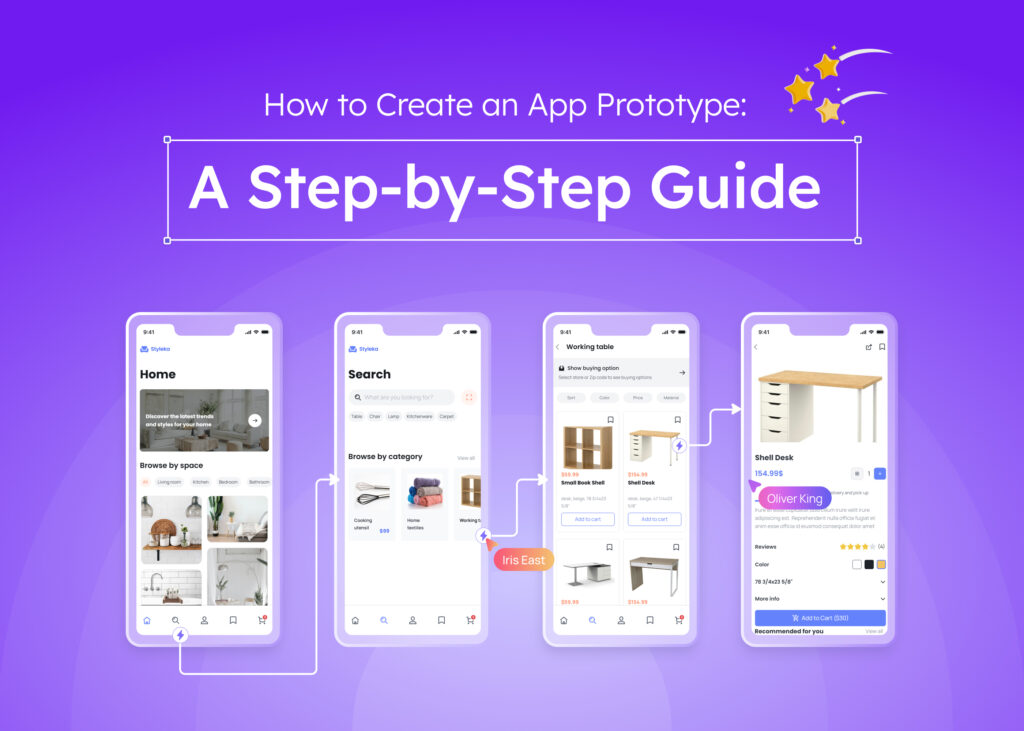
The Importance of Prototype Fidelity in UX/UI Design
Successful digital products rely on thorough prototyping across different fidelity levels. Working with low, medium, and high-fidelity prototypes enables designers to validate concepts early, refine interactions, and deliver polished user experiences while saving significant development costs.
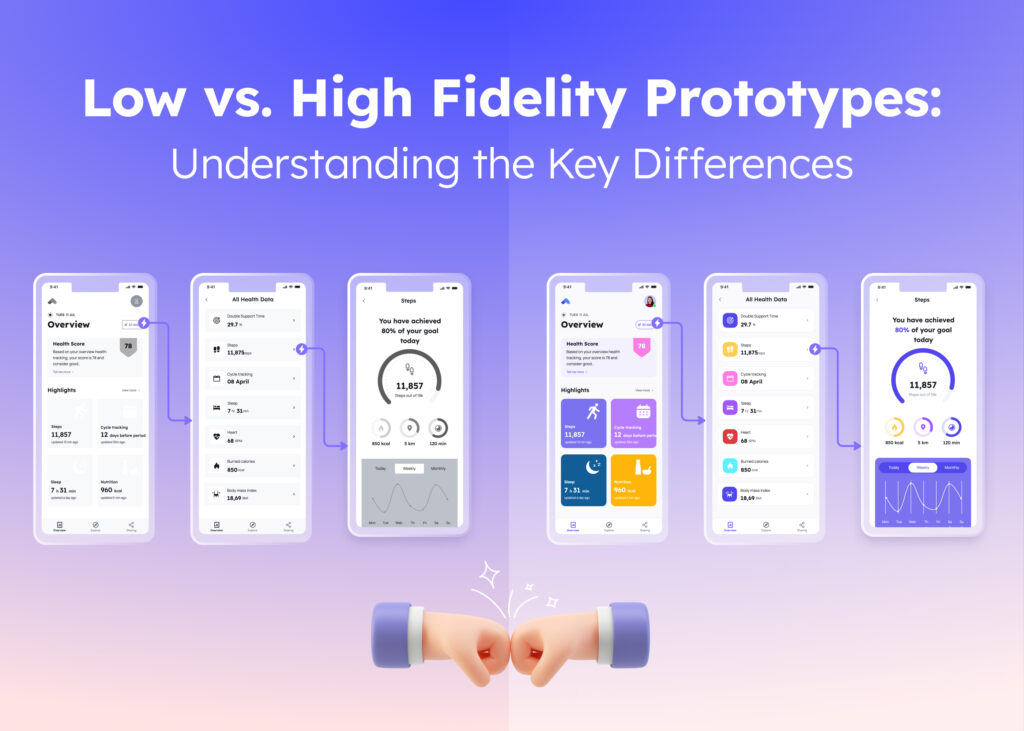
Fidelity represents how closely a prototype resembles the final product in terms of visual design, content, and interactivity. A strategic approach to prototype fidelity helps teams validate assumptions at the right stage, preventing expensive changes later in development.
Professional designers typically progress through multiple fidelity levels, each serving a specific purpose in the design process. According to the Nielsen Norman Group, teams that validate designs across all fidelity levels experience 37% fewer post-launch usability issues compared to those who skip stages.
Low-Fidelity vs Medium-Fidelity vs High-Fidelity Prototypes
The prototype fidelity spectrum reflects increasing levels of detail, interactivity, and visual polish:
| Feature | Low-Fidelity | Medium-Fidelity | High-Fidelity |
| Purpose | Concept validation | Flow and structure | Visual and interaction refinement |
| Creation time | Minutes to hours | Hours to days | Days to weeks |
| Detail level | Minimal | Moderate | Comprehensive |
| Visuals | Sketchy, wireframes | Basic UI elements | Final visual design |
| Interactivity | Limited/None | Basic navigation | Full interactions |
| Tools | Paper, whiteboards, basic digital | Wireframing tools | Advanced prototyping software |
Each fidelity level plays a crucial role in the design process, with low-fidelity prototype work validating fundamental concepts before investing in detailed design.
Low-Fidelity Prototypes: Quick Concept Validation
A low-fidelity prototype focuses on basic layout, information architecture, and core user flows without visual details or complex interactions. Paper sketches, simple digital wireframes, and whiteboard drawings represent common low-fidelity prototype sketch approaches.
How to create a low-fidelity prototype effectively:
- Start with user goals and key tasks your interface must support, focusing on solving core problems.
- Sketch screens on paper or use basic wireframing tools to create simple representations of key interface elements.
- Avoid details like colors, images, and typography to keep feedback focused on structure and functionality.
- Test with colleagues or users by walking through scenarios manually, and explaining transitions verbally.
- Iterate quickly based on feedback, redrawing screens rather than refining existing ones.
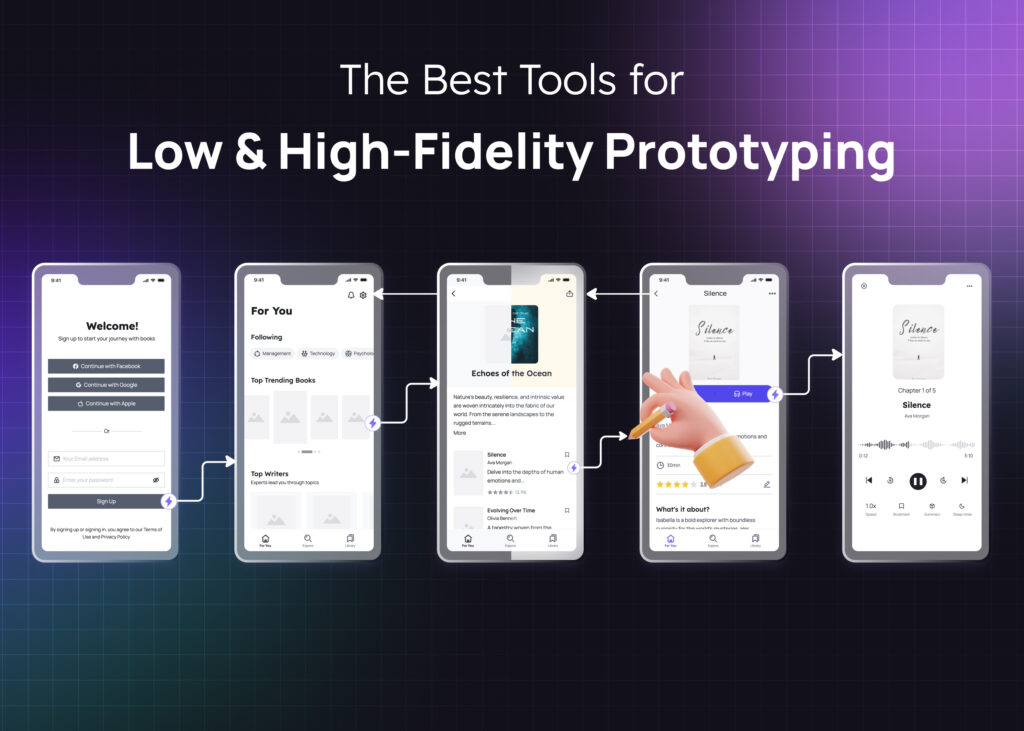
Visily offers an excellent starting point for low-fidelity prototype creation, with AI-powered features that convert simple sketches into digital wireframes in minutes rather than hours.
Medium-Fidelity Prototypes: The Bridge Between Concepts & Details
A medium-fidelity prototype (sometimes called a mid-fidelity prototype) adds more definition to the design while remaining focused on structure and user flow rather than visual details.
Mid-fidelity prototype work provides several advantages:
- Greater clarity for stakeholders who struggle to visualize products from low-fidelity sketches.
- More accurate user testing with defined navigation paths and basic interactions.
- Exploration of alternative layout approaches before committing to detailed visual design.
- Focused feedback on information architecture and content organization.
Creating a medium-fidelity prototype example typically involves wireframes with:
- Actual content (rather than placeholder text)
- Defined information hierarchy
- Basic interactive elements
- Simple navigation between screens
- Limited use of color (primarily for emphasis)
Many designers create mid-fidelity prototype Figma files to facilitate collaboration, though Visily’s prototyping tools offer a more accessible alternative for teams with limited design experience.
High-Fidelity Prototypes: The Final Design Before Development
A high-fidelity prototype represents the closest approximation to your final product, incorporating complete visual design, content, and interactive elements. High-fidelity interactive prototypes allow realistic user testing and provide developers with clear implementation specifications.
Key characteristics include:
- Pixel-perfect visual design
- Realistic content and data
- Responsive behaviors
- Sophisticated interactions and animations
- Interactive elements functioning as expected
How to create a high-fidelity prototype effectively:
- Begin with approved medium-fidelity wireframes as your foundation, ensuring core flows work properly.
- Apply visual design elements including typography, colors, imagery, and spacing according to brand guidelines.
- Create realistic interactions for important interface elements, focusing on critical user paths first.
- Add animations and transitions that enhance usability rather than merely looking impressive.
- Test thoroughly with representative users, focusing on both usability and emotional response.
Modern tools streamline high-fidelity prototype creation significantly. Visily stands out by enabling designers to transform wireframes into hyper-realistic, interactive prototypes in minutes rather than days.
Step-by-Step: How to Transition from Low to High-Fidelity Prototypes
Moving smoothly between fidelity levels saves time while ensuring design quality:
- Start with low-fidelity prototype wireframe work to validate basic concepts—spend hours, not days, confirming the fundamental approach.
- Progress to medium-fidelity prototype development once key flows receive approval—add structure, basic visual hierarchy, and limited interactions.
- Create component libraries during the medium-fidelity stage to accelerate high-fidelity development later.
- Conduct usability testing at each fidelity level with appropriate questions—concept validation at low fidelity, flow testing at medium fidelity, and detailed interaction testing at high fidelity.
- Develop high-fidelity interactive prototypes for final validation, focusing on polish and fine-tuning rather than major structural changes.
The most efficient teams maintain parallel workstreams, with designers beginning medium-fidelity work on approved sections while still validating other areas at low fidelity.
Speeding Up the Transition with Visily
If you’re looking to streamline your prototyping process, consider starting with Visily during the low-fidelity stage. Unlike traditional tools that require you to switch platforms as you progress, Visily allows you to refine your prototypes within the same environment.
- Start with low-fidelity sketches or wireframes, quickly mapping out core functionalities and user flows.
- Toggle to high-fidelity mode when ready, enhancing visual details and interactions without disrupting your workflow.
- Save time by maintaining consistency, allowing your prototypes to evolve organically from rough concepts to polished, interactive designs.
Visily’s flexibility makes it a powerful tool for projects that require rapid iteration and progressive enhancement.
Conclusion
Working effectively across low, medium, and high-fidelity prototypes requires strategic thinking about when to use each approach:
- Start every project with low-fidelity prototype work to validate fundamental concepts quickly and inexpensively.
- Use medium-fidelity prototype development to resolve structural issues before investing in detailed design.
- Reserve high-fidelity prototype creation for finalizing designs and preparing for development handoff.
- Match prototype fidelity to your current questions—don’t waste time on high-fidelity details when still validating basic concepts.
Modern tools like Visily enable teams to work across the fidelity spectrum efficiently, reducing the traditional barriers between different prototype stages. With AI-powered features that can transform sketches, screenshots, or even text descriptions into workable prototypes, Visily helps teams move from concept to final design faster than ever.
FAQ on Prototype Creation: Mastering Low & High Fidelity Design
Which tools work best for low-fidelity prototyping?
Paper and whiteboard sketches remain highly effective for initial low-fidelity prototype work. For digital options, Visily offers exceptional AI-powered features that convert rough concepts into workable wireframes quickly.
When should I move from medium to high-fidelity prototypes?
Progress to high fidelity after validating information architecture and user flows with medium fidelity prototype testing. Moving too early risks wasting time on visual details for flawed structures.
How detailed should a high-fidelity prototype be?
A high-fidelity prototype should include all visual elements, content, and interactions required for successful user testing. Perfection isn’t necessary—80% completion typically suffices for validation.
Can I skip medium-fidelity prototyping?
While possible, skipping the mid-fidelity prototype stage often leads to more extensive high-fidelity revisions. Medium fidelity provides crucial validation of structure before investing in detailed design work.
What’s the main difference between medium and high-fidelity prototypes?
Medium-fidelity prototype examples focus on structure and flow with limited styling, while high-fidelity interactive prototypes include complete visual design and functional interactions that closely resemble the final product.


